![facebookpost20[1] facebookpost20[1]](https://www.cultiwool-substrate.com/cache/4c677d41cae5309541326ed69a073d4c/facebookpost20[1].png)
AO Starter Plugs Instructions
25 November 2022
Step-by-Step Guide for Starting the Propagation
To start successful cannabis cultivation the Starter Plugs are a must. In order to reach the best results, it is recommended to follow this easy yet important instruction guide with attention to the small details.

Starting with the soaking; as can be seen in the figure, the plugs should be soaked for 10 seconds, in a nutrient solution with an EC of at least 1.5 mS/cm and a pH of 5.5 to 5.8.
![2940 instagrampost28[1] 2940 instagrampost28[1]](https://www.cultiwool-substrate.com/cache/2161992ae0544b5bd062a2b7e8260a35/2940_instagrampost28[1].png)
Following, the second step is, depending on what you use for propagation, to insert the seed or place the cutting into the plug. When using cuttings it is recommended to dip them in a rooting hormone and make sure the cuttings used are uniform in length, diameter, and a number of leaves. Once it is done, the plugs should be placed on a tray under high humidity of 95%.

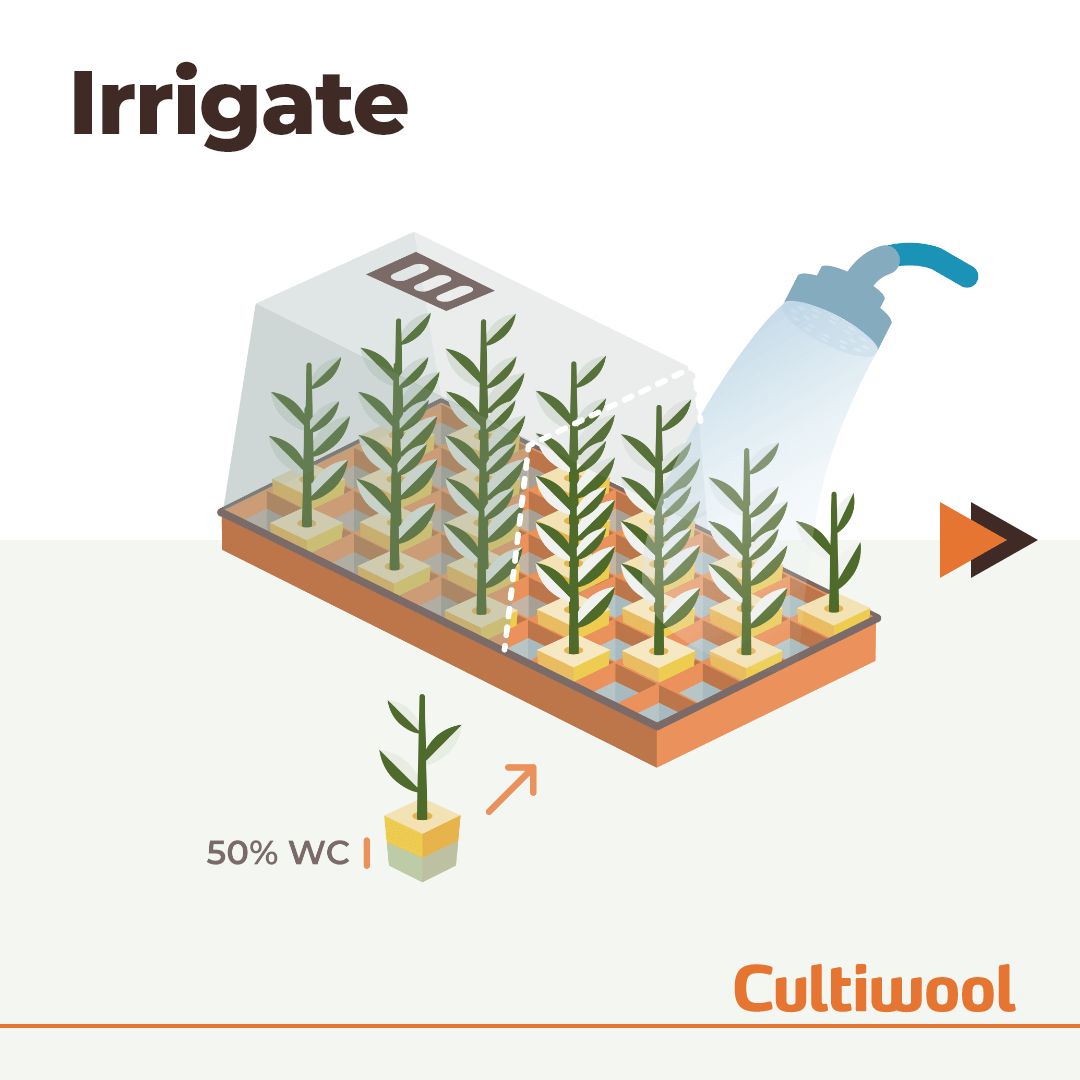
Next, as the figure illustrates, during the first days mist occasionally to keep moist but do not over water. Check the water content (WC) of the plugs, it can be done by weighing them. Once the WC is at 50%, irrigate with an EC of 1.5 mS/cm. That will enhance root development.

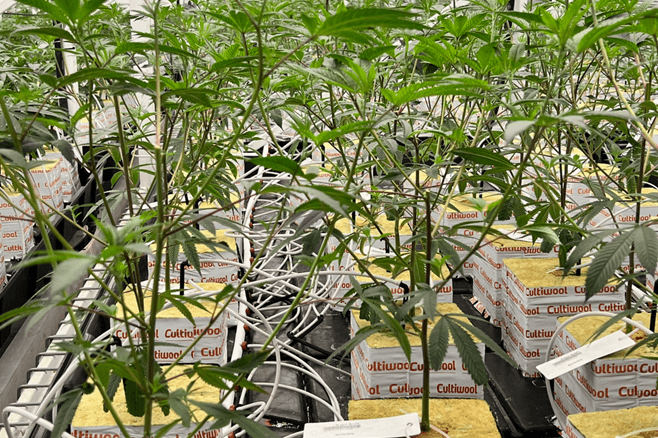
Finally, when the roots have grown and are visible from the plug, similarly as in the figure below, the light levels can be increased and the irrigation strategy should be adjusted as the plant will uptake more water. The complete propagation phase usually lasts around 10 to 14 days, and then the roots are fully developed within the plugs. Then the plugs can be transplanted into Growing Blocks.
Want to know more?
The AO-Starter Plugs are 1.4 X 1.4 X 1.6”, or, 36 X 36 X 40 mm in size, and they come in 84 units per sheet. They are also available in trays with 77 units.
For further information about how to propagate cannabis best please check this article for further propagation instructions. Please check this page for more information about the different Starter Plugs Cultiwool offers.
On this website you will find more information on our stone wool substrates and instructions for optimum use! If you have any question, remark, or request, please feel free to contact us here, or via our Facebook and Instagram accounts.
More items

Where can I find Cultiwool?
Discover more about our Cultiwool network


